PBX system security is pivotal in today’s environment, users need a highly flexible solution to ensure that specific access privileges are given to the correct individuals. To fulfill this security requirement, Yeastar P-Series Phone System, S-Series VoIP PBX, and Cloud PBX all provide customers the tool to set different roles to extensions with defined user permission to access certain functionality.
In this blog post, we will explore how to set up user roles and permissions for each system.
Jump to ↓
For Yeastar P-Series Phone System
Yeastar P-Series Phone System enables the super administrator to exercise role-based control over the PBX features that users can access and manage through their web portals. There are 7 types of pre-defined user roles available:
- Super Admin: Access and manage all the PBX features.
- Administrator: Access and manage all the PBX features except “View Dashboard” and “Manage Role”.
- Supervisor: No access to PBX features.
- Operator: Access and manage all the features under the “Security” and “Maintenance” modules.
- Employee: No access to PBX features.
- Human Resource: View and manage all the extensions.
- Accounting: Access and manage the “Plan” module.

User Roles in Yeastar P-Series Phone System
If the predefined roles do not meet your needs, you can create a custom user role and assign the necessary permissions to it. Explore how to create customer user roles HERE.
Granular User Permissions
Administrators can benefit from a high level of granularity when it comes to user permissions. The permissions available on the Yeastar P-Series PBX System include the following. You can explore full details at HERE.
- Extension and Trunk
- Contacts
- Call Control
- Call Features
- Reports and Recordings
- Auto Provisioning
- Messaging
- PBX Settings
- System
- Security
- Maintenance
- Integration
- Plan
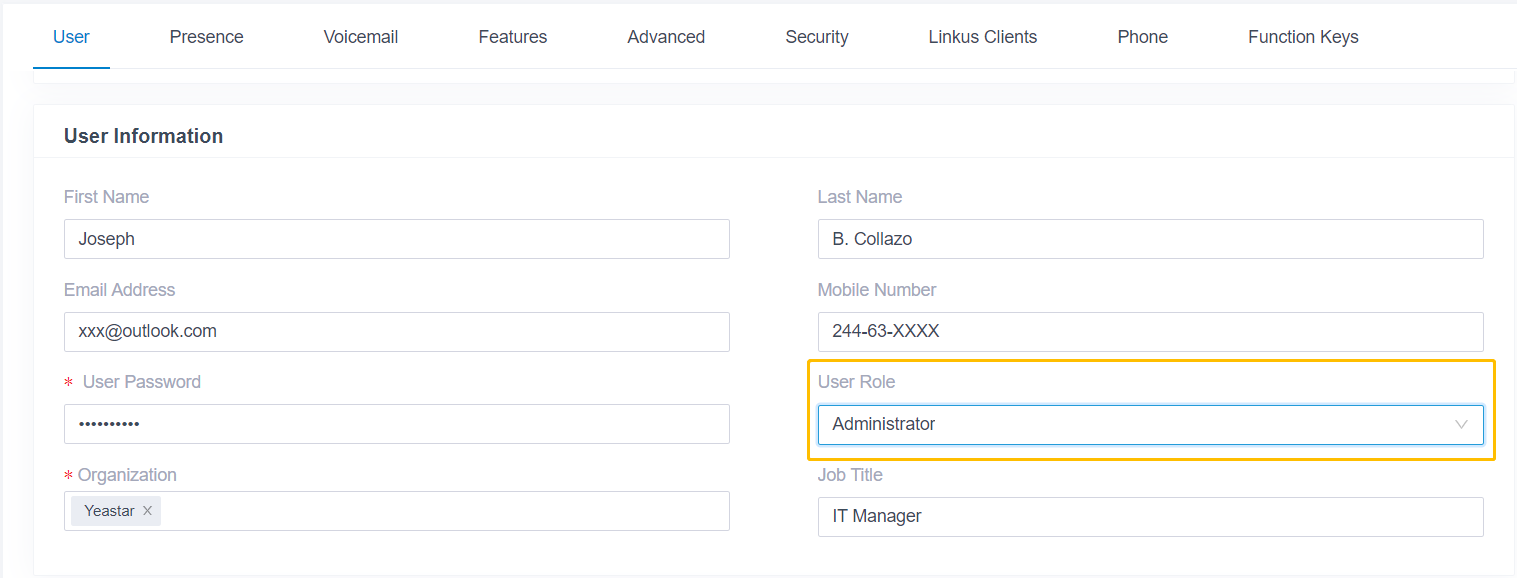
Admin Portal: Assign User Roles
Super Admins have the highest level of permissions and are allowed to assign different user roles to various users. To assign user roles, log in to the PBX web portal, and go to Extension and Trunk > Extension. On the Extension list, select an extension, and click the little pencil. On the User page, select a role from the drop-down list of User Role. Click Save and Apply.

User Permission Dropdown on Yeastar P-Series Web Portal
For Yeastar S-Series and Cloud PBX
Yeastar S-Series VoIP PBX is preconfigured with 3 types of role-based accounts: default administrator account – Super Admin, Administrator, and Customer User. The Super Admin account is created by default and can have only one, and it has the highest privileges. The system will automatically create user accounts when new extensions are created.
By default, the extension users can log in to the system and check their settings and CDR. The Super Admin can grant more privileges for extension users. All the created users will be displayed on the User Permission page on the PBX web configuration panel.

User Permission Page on Yeastar VoIP PBX Web Panel
Admin Portal: Assign Different Roles to Different Users
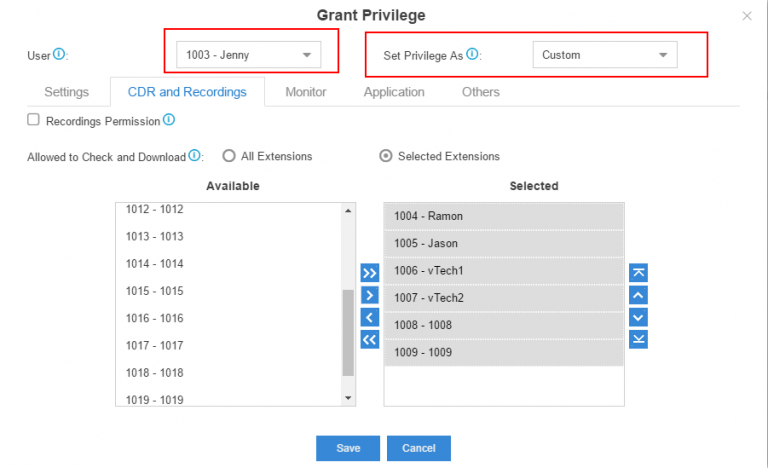
The Super Admin has the highest privilege. It can access all pages on PBX Web GUI and make all the configurations on the system. To assign different roles to different users, log in to the PBX Web GUI using the Super Admin account. Go to the Settings > System > User Permission. Add a new User Permission and choose the user (extension) and privilege type (role), then check the options to enable the privileges for the user.

S-Series VoIP PBX Web GUI
Privilege Type (Role):
- Administrator is created by the Super Admin. The administrator has all the privileges but cannot create new users for login.
- Custom User is created by the Super Admin. The Super Admin sets the privileges for those users according to different situations.

Grant Privilege and Role to Different Users
Below is an example of Custom User privileges granted by Super Admin.

Grant Privilege to A Custom User by Checking the Boxes

Grant Call Recording Permission to A Custom User
User Portal: Log in and Check Settings & CDR
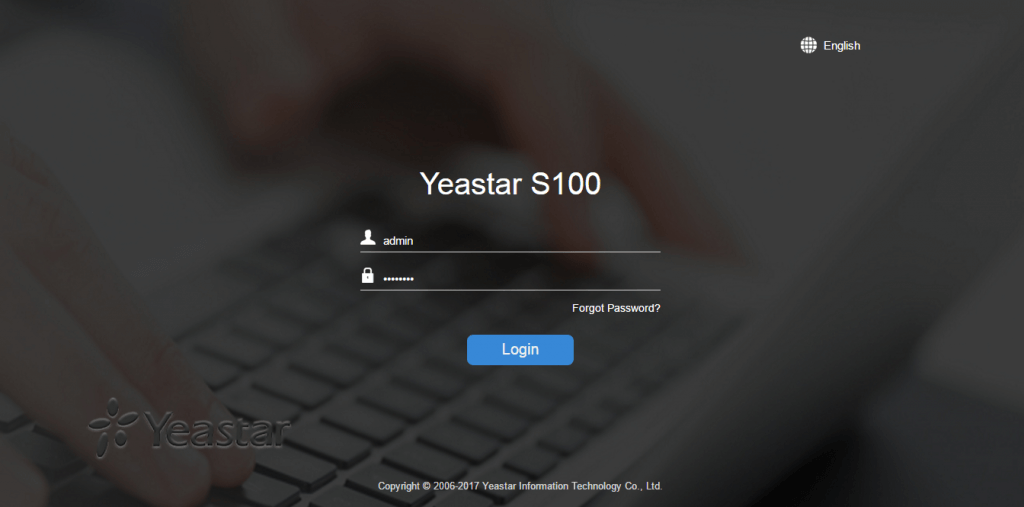
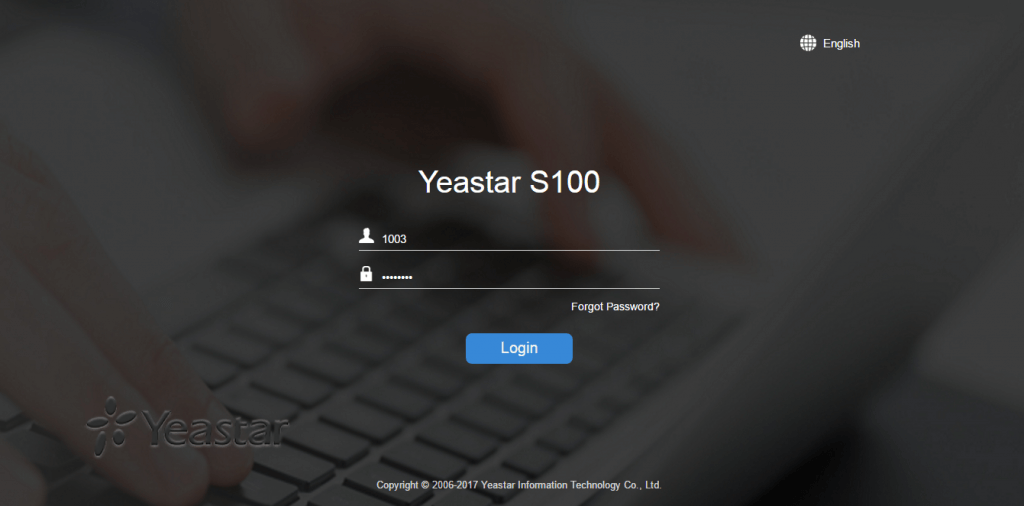
The extension user could log in to Yeastar S-Series or Cloud PBX Web GUI using its extension username and password to check their settings and CDR. The extension user account is created automatically when an extension is created on the system.
- Username: extension number (i.e. 1003, the Custom User granted by Super Admin before)
- Default password: “pass” plus extension number (i.e. pass1003)

User Portal – Yeastar S-Series VoIP PBX
Then, we can see the granted privileges in extension 1003.

Check Feature Privilege Granted by Super Admin

Check CDR (Call Details Record) on the User Portal
Keep Learning
With Yeastar Cloud PBX and S-Series VoIP PBX, you can do more to secure your business-critical phone system and communications network. We’ve prepared an intuitive guide to help you achieve that.


